If, when you try to start the Electrolux machine, the wash does not start, and the E40 code appears on the screen, then there is a problem with the door blocking. This can happen with a loosely closed door or small voltage drops in the network - in this case, you do not need to call the wizard, you can fix everything yourself in a couple of minutes. When the matter is in a serious malfunction (like a broken lock or a control module), then you will have to disassemble the device, change parts, and it is better to entrust this to a specialist.
Decoding the error
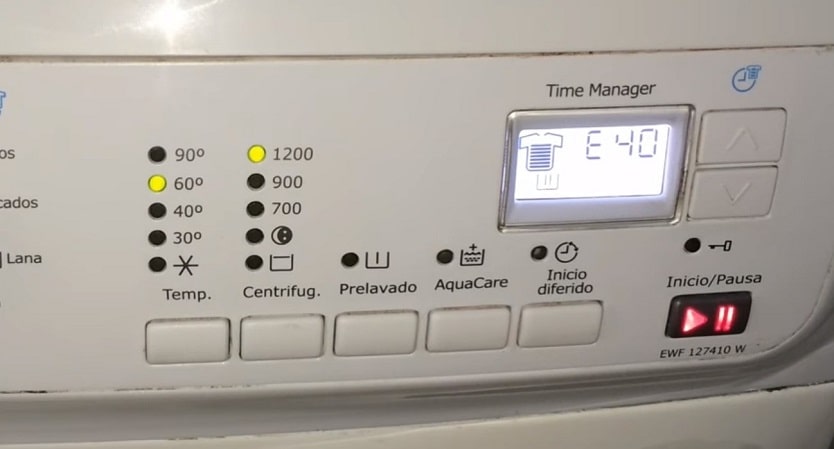
For all models of Electrolux washing machines (Electrolux), the appearance on the display "E40" means the inability to close the hatch tightly. This is a common code, for decoding which you need to enter the diagnostic mode: simultaneously press and hold the two extreme buttons on the right and the large round button on the left. All lights on the control panel will light up and specific error information will appear on the screen.
Important:
if the Electrolux has a built-in selector, then to activate the test mode, it is enough to hold only two buttons on the right side of the panel.
After starting the diagnostics, a clarifying code is displayed on the screen, indicating the nature of the problem. This could be:
- E41 - the door of the machine does not close completely.
- E42 - the hatch lock is faulty.
- E43 - blocking is not possible due to a malfunction of the control module.
- E44 - an error was detected in the operation of the machine door sensor.
- E45 - the electrical circuit is broken, which happens in case of a malfunction in the wires connecting the hatch and the control module.
![]() See also - Error code E20 on the Electrolux washing machine
See also - Error code E20 on the Electrolux washing machine
In what cases can you eliminate yourself
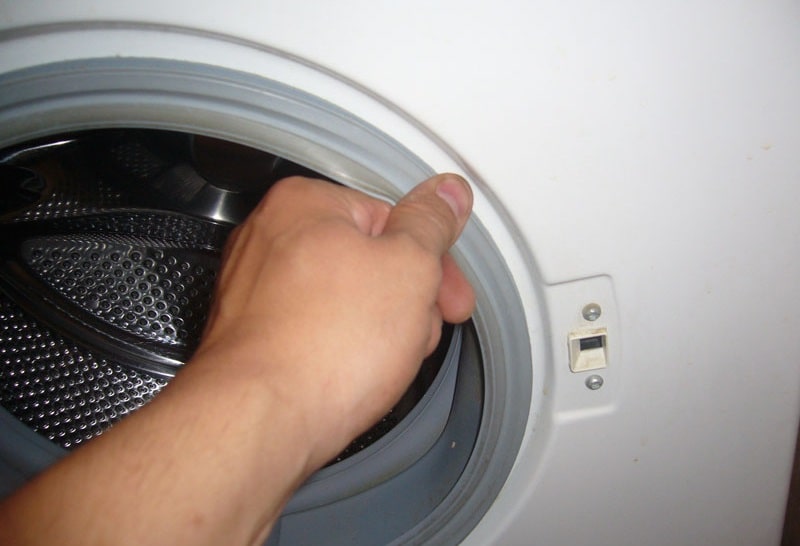
- The first thing to do when an E40 error occurs is to inspect the hatch frame, hinges, check if the "tongue" fits into the lock hole. It is important to make sure that there are no foreign objects in there - debris, stuck laundry, dislodged rubber pad. The detected "obstacles" should be removed, then re-close the door and try to turn on the machine.
- If the door is skewed, inspect the hinges. Sometimes the screws in the hinges become loose, which makes it impossible to close the hatch tightly. Such a malfunction is easily eliminated - you just need to take a screwdriver and tighten the screws tighter.
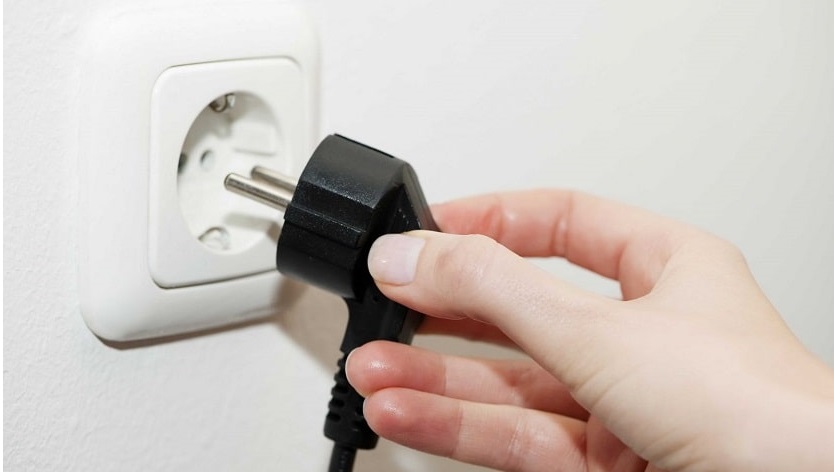
- Another way to help fix problems yourself: start the wash mode, press the hatch with your hands or knee and do not release it for a couple of minutes until you hear a click and the lock icon appears on the display. Experts also recommend trying to turn off the power supply to the washing machine by unplugging the plug, wait 10 minutes and turn it back on. If the problem was a minor failure of the control module (for example, due to voltage surges), then such a simple action will help to "reset" it.
Hinges often break due to too much pressure on the open doors from above (leaning or putting heavy things). The lock fails when trying to open the machine while it is running (when the lock mode is active). With voltage drops in the network, microcircuits burn out.Temporary wear and tear of equipment cannot be ruled out - on average, the parts of an Electrolux machine last 5-8 years (with intensive use), and then one by one they need to be replaced.


Faults requiring extensive repair
If the above steps could not restore the operation of the washing machine, you will have to check the operability of all parts responsible for closing the door. The state of the lock, UBL, door hinges, wires and control module are studied in turn. To do this, you will have to disassemble the machine.
| Malfunction symptoms | Probable cause | Breakage repair or replacement |
| The hatch is not locked at all, after starting the diagnostic mode, "E42" pops up on the screen. | Breakage in the door interlock device (UBL). It is necessary to disconnect the fasteners and wires, remove the device and check the integrity of each section. Some malfunctions can be noticed visually (you can immediately see the dropped clips, deformed moving elements). | It is impractical to patch up damaged UBL areas; it is better to replace the blocking device with a new one. |
| The tongue of the lock and the hole are at different levels, so it is impossible to lock the machine. When the door is open, when pressed, it will freely "walk" up and down. | Obvious problem with the door hinge. It is necessary to carefully inspect the hinges - check if the screws are in place, if there are any cracks or breaks in the details. | If the screws are loose, fix them with a screwdriver and socket wrench. If the loop itself breaks down, then it is impractical to repair it - the damaged structure must be replaced with a new one. |
| When the door is locked, no click is heard, no blocking occurs. When the diagnostic mode is started, “E41” or “E42” appears on the screen. | The lock is damaged. Most often, a malfunction is a falling out or breaking of component parts (for example, a locking tab). | All dropped out, skewed parts are simply put in place, no purchase of a new locking device is required. Replacement of the lock is only necessary in case of serious damage (cracks, breaks). |
| The door locking error occurs and disappears. A pungent burning smell appears. | Disruption of electrical wiring. To check the condition of the wires and or contact connectors, a "ringing" is made using a multimeter. | The discovered burnt-out area is cleaned, and the ends are soldered. If necessary, the entire wiring loop is changed. |
| There are no visible defects in the door, but it still does not close. Indicators flash randomly. When the diagnostics mode is started, the “E43” code appears on the screen. | Defective control module... Most often, the microcircuit "suffers" due to burnout of contacts during power surges or due to water entering the electronics. | It is necessary to remove the front panel by dismantling the upper part of the machine. Then remove the board. The damaged areas are immediately visible - they turn black, the caps of the capacitors become convex, traces of ruptures are visible. When a faulty part is found, it is soldered off, and a new one is installed in its place. |
Important:
In order to find the cause of the breakdown, you will have to disassemble the device, inspect the electronic circuits. People who do not have experience in repairing household appliances are not recommended to do such work on their own. This may violate the terms of the warranty service and lead to even greater damage. You yourself can only carry out manipulations that do not require penetration into the interior of the machine.
See also: